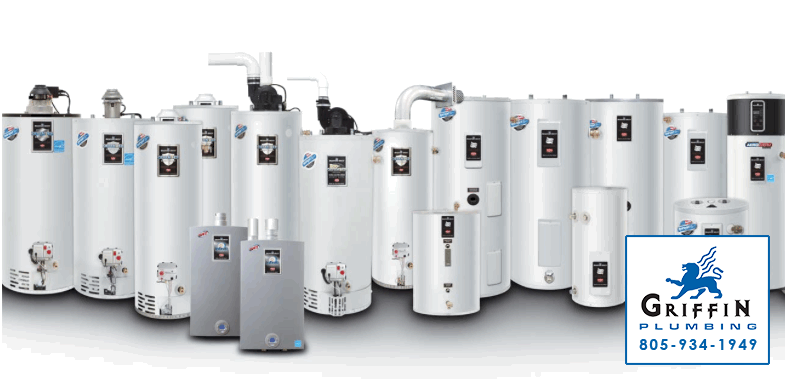
Here at Griffin Plumbing of Santa Maria, Orcutt and the Central Coast we understand that water heaters can be a big investment for many homeowners and repairs can get pricey. Here is a run-down on how to keep your water heater in tip-top shape with proper water heater maintenance to save some serious cash and ensure longer service life, problem-free performance and lower energy bills!
#1 Remember to Drain the Sediment
Sediment in your hot water tank consists of minerals commonly found in hard water, like calcium and magnesium. The sediment accumulates at the bottom of your tank. If too much collects, it can cause your hot water to be discolored, and your tank to run less efficiently.
Draining your tank:
First, turn off the power source to your water heater. This means either finding the fuse box and flipping the switch to the off position (for electric heaters) or turning the thermostat dial to the off or Pilot position (on a gas heater).
Next, turn off the water heater’s cold water supply valve. This can be located in a few places, but it is generally placed at the top of your water heater.
Then, attach a garden hose or something similar to the drain valve, which should be located at the base of your water heater. Be sure to run this hose to either a sink, a utility drain, outside, or a bucket. Once this is in place, open all of the hot water faucets in your home and let them run. This will assist in dispensing all of the hot water from the system.
Finally, open the water heater drainage valve and allow the tank to completely empty. Note: If the valve appears to be clogged, it is okay to turn on the cold water supply long enough to push the clog through, but then you should turn it off again. Once the water tank is completely drained, you have the option of either disconnecting your water heater or taking the opportunity to flush your water heater.
#2 Flush Your System
Flushing your hot water heater includes removing the sediment from your hot and cold water supplies. This is a great way to clean debris out your tanks quickly and efficiently and is an important part of water heater maintenance.
Flushing your system:
Start by following the steps to drain the sediment, and then continue with the process to thoroughly flush your system. While the hose is still connected to your hot water drainage valve, as discussed above, turn on the cold water valve and allow it to run for 10 minutes. This will push clean, cold water through the tank to remove any residual sediment that may still be sitting within the system, and is an important step in water heater maintenance.
When time is up, turn off the cold water valve, disconnect the hose, turn your water heater back on, and reopen the cold water valve to allow your tank to refill. The last step is to go through your house and turn on the hot water faucets in each bathroom to allow any air build-up to drain from the pipes.
#3 Check the Anode Rod
The anode rod is an important, but seemingly forgettable, element to the water heater. This long thin pipe protruding from the top of your water heater is actually a great tool for removing rust and hard water minerals from your water heater. You will probably be able to tell which rod we are referring to if you see a rod on top of your water heater that looks like it is covered in corrosion. If you see this, it is time to change the anode rod. Changing this out will extend the life of your water heater and also greatly improve the quality of your water.
For more helpful water heater maintenance tips, or assistance with repairing or replacing your water heater, call Griffin Plumbing at 805-934-1949 today!
